
The topic of how to create a WriteOnce Shared folder on a Synology NAS recently came up and it’s something I’ve read about but never dug deep into so I figured why not do so now. Defined by Synology is a WORM (Write Once, Read Many) based technology that restricts changes and deletions of your data within a specified period of time.
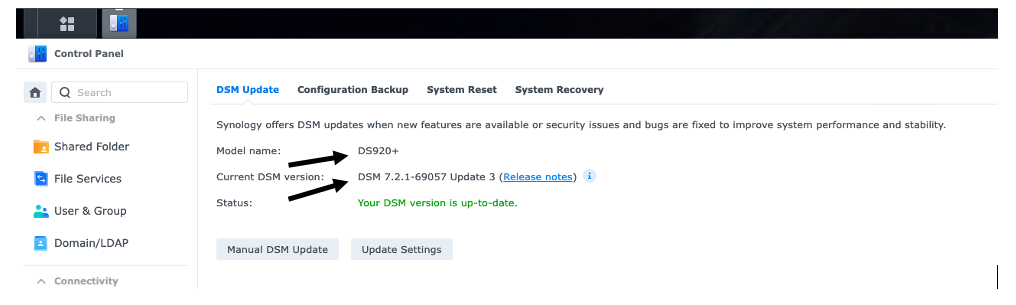
In order to take advantage of this capability, your Synology NAS environment must be running on version 7.2 of DSM (Diskstation Manager) and a Synology NAS model that supports immutable snapshots. My Synology DS920 falls under the 20-series and supports this functionality:
To begin, I’ll log into my Synology NAS and create a Write Once, Read Many folder on the Shared Folder by following the steps outlined below:
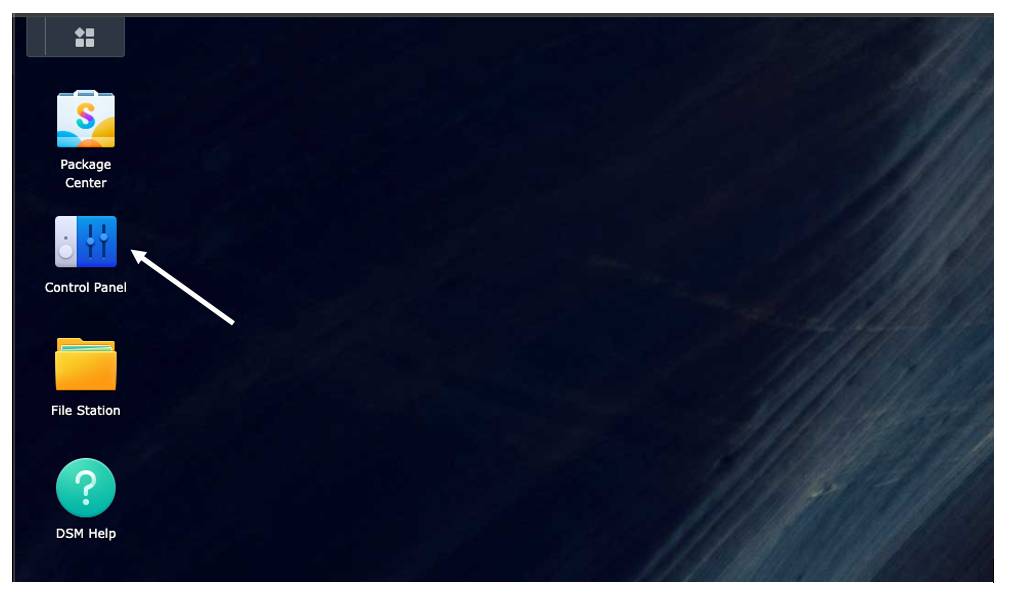
- Launch the Control Panel from the shortcut found on the desktop:
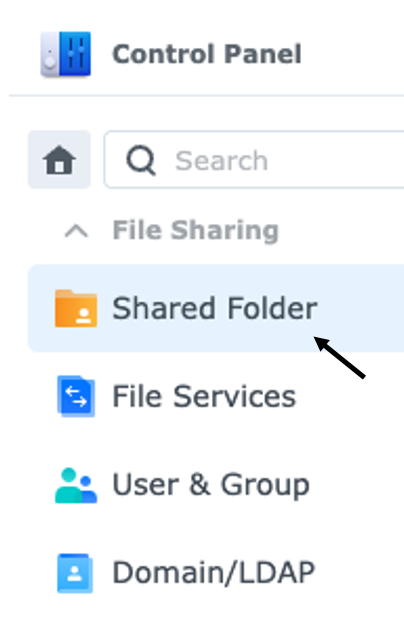
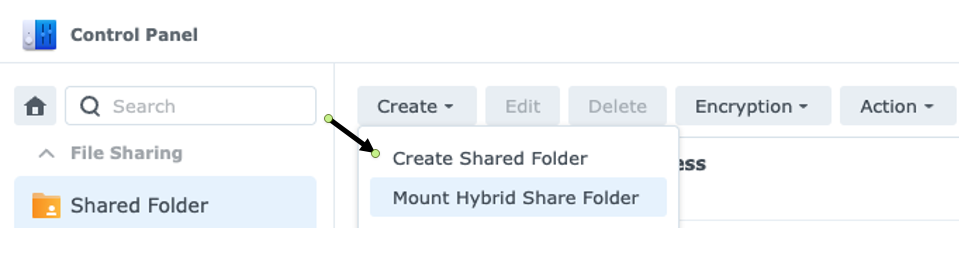
- Select Shared Folder, followed by Create then Create Shared Folder:
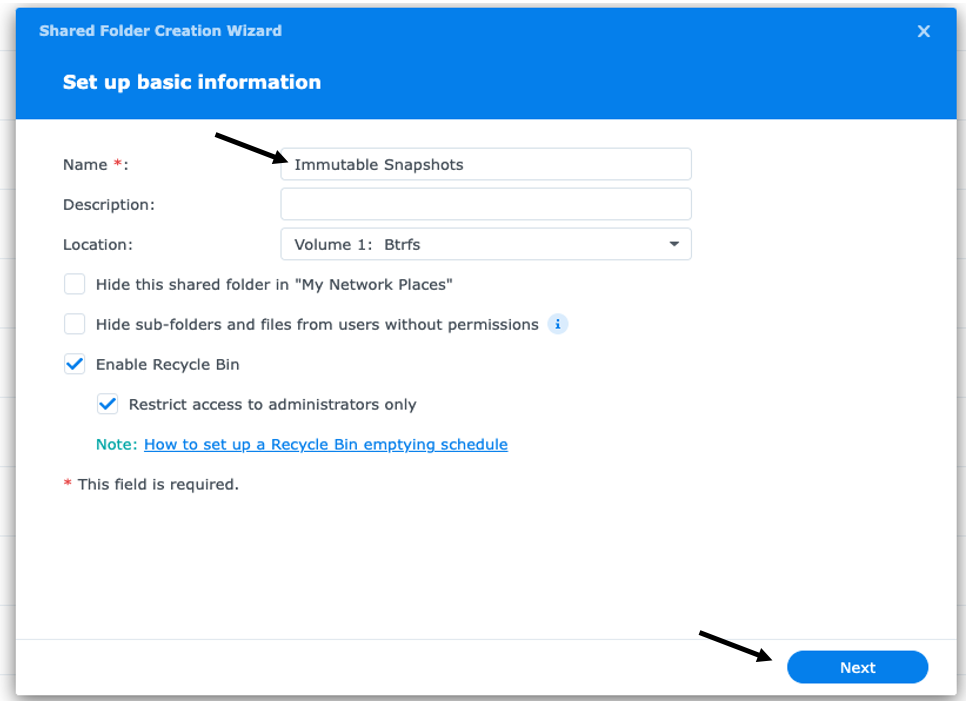
- Provide a name for the new shared folder. In this example, I named my folder Immutable Snapshots and then select Next:
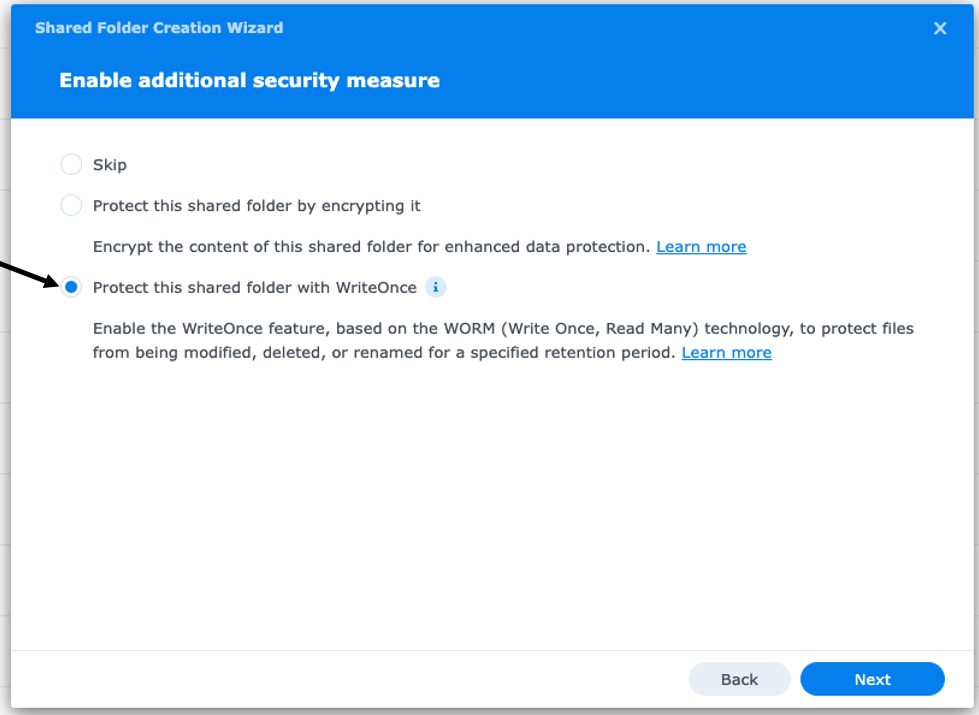
- At the Enable Additional Security Measure window, select Protect This Shared Folder with WriteOnce:
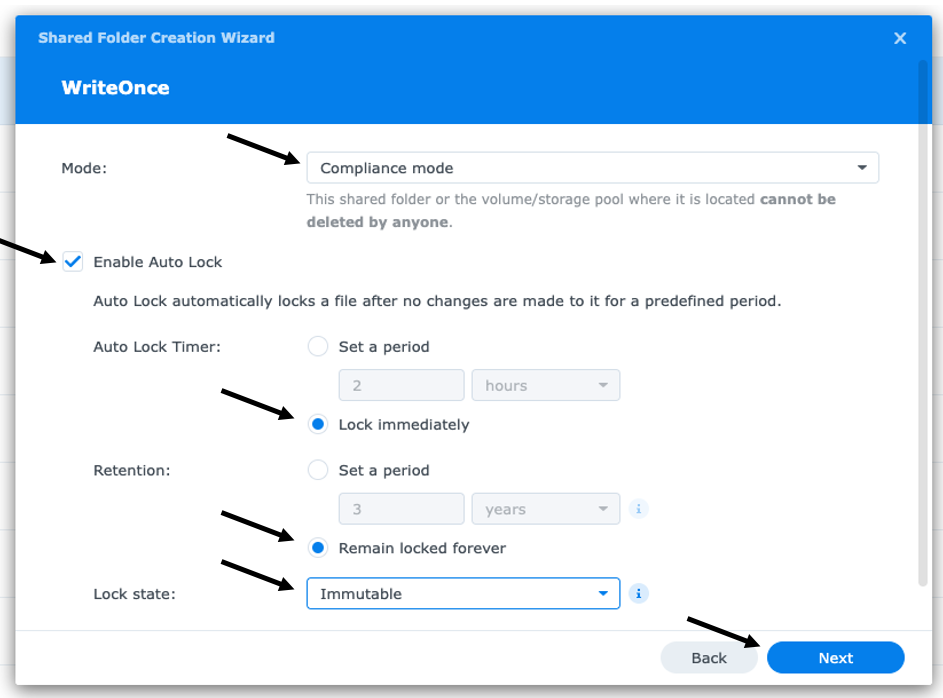
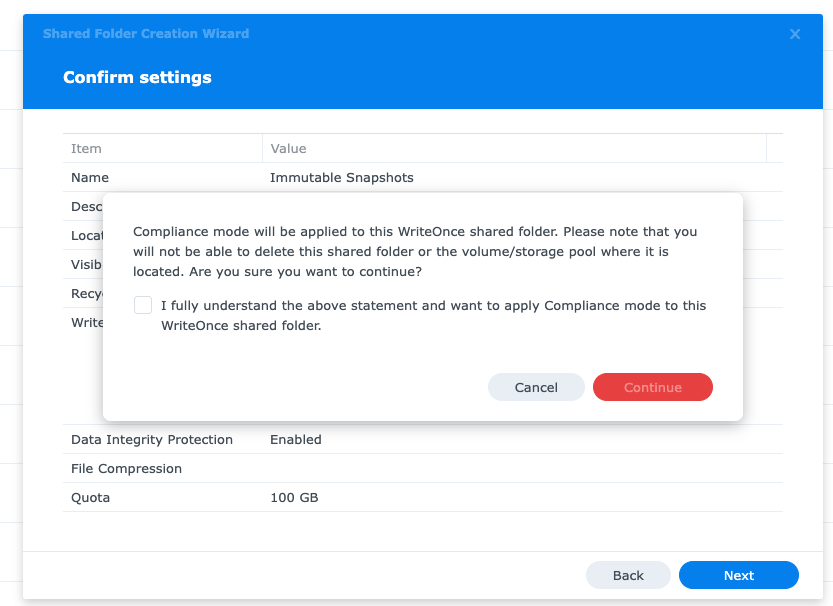
- At the WriteOnce window, I’m going to set the mode from the options presented to me. In this example, I selected the Compliance Mode because data cannot be deleted by anyone including admins. The Auto Lock timer is the grace period for data landing in the folder (hours or days). For the purpose of this post, I selected the Lock Immediately option, so it goes into effect right away. The Retention option is used to set the period of immutability for the data inside of this folder for days or years. For the purpose of this post, I selected the Remain Locked Forever option, so the data remains locked forever. The Lock State provides two options, I selected Immutable option because data within this folder cannot be changed and will remain locked and immutable forever.
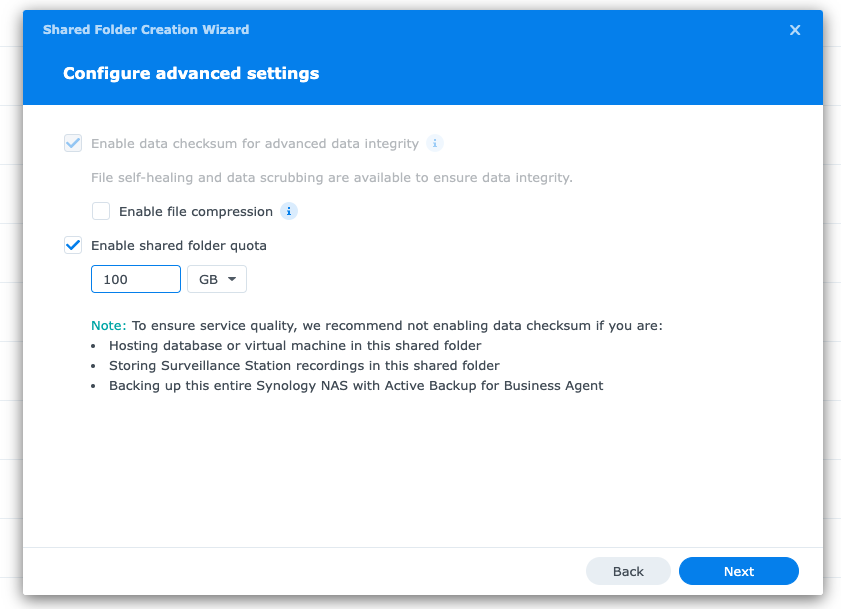
- At the Configure Advanced Settings window, I created a Shared Folder Quota so I can easily manage the size of this folder:
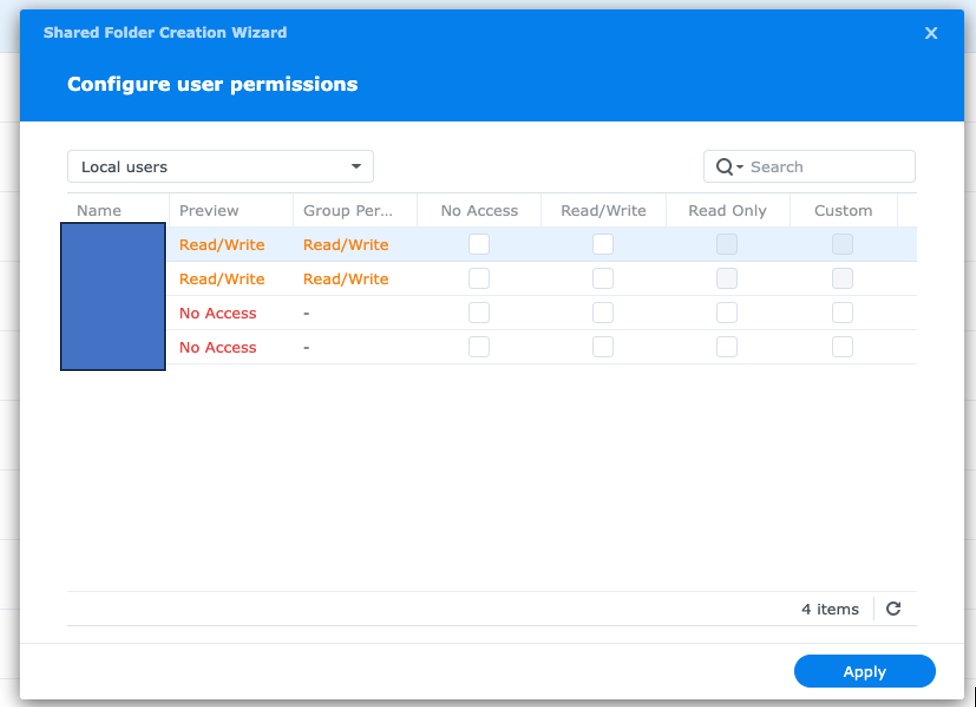
- For the remaining steps, I went with the default options:
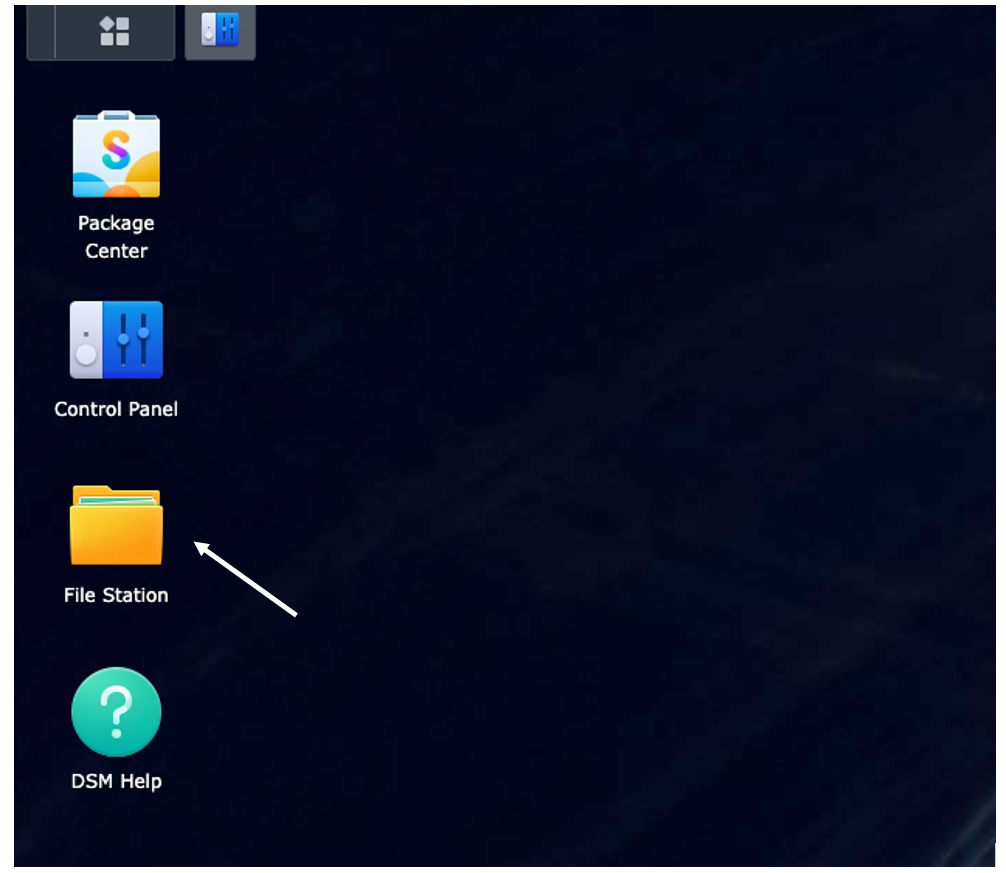
- Next, I opened File Station so I can start adding data into this folder:
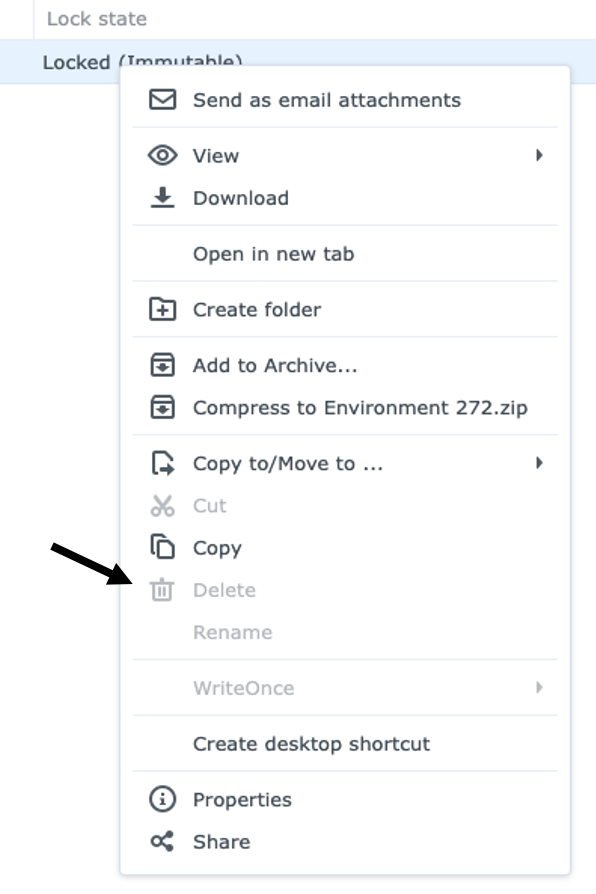
- Select Upload followed by to Upload Overwrite to upload any files to this folder. Once the file(s) have been added, refresh the window and you’ll notice the Lock State status changes to Locked (Immutable). If you right-click the status, you’ll notice the Delete option is greyed out and

If you’re interested in learning more about Immutability, please check out the posts linked below from Chris Childerhose and Nico Stein:
- Synology – Immutable LUN Snapshots with Immutable Replication (Chris Childerhose)
- Synology DS923+ NAS Review, Part II – LUNs and Snapshots (Nico Stein)
- Immutable Snapshots not being created by scheduler on Synology (Nico Stein)
This concludes this blog post. If I have missed anything or if you have any suggestions, please let me know.
If you’re interested in anything related to Synology on my blog, please click on this link.

Leave a comment